Direct to Watercolor Part 2 of 4 : Field Studies
Note: If you’re linking in from somewhere, this is part 2 of 1 / 2 / 3 / 4
After my recent breakthrough pages from last Friday’s post. I went out and did some messing around. Stuff that I won’t show you. About five pages of throw-away studies. Enough to confirm that I actually had a process locked down.
Then I went out and did two days of sketching on the mountain, up in Parc du Mont-Royal.
I was taking it easy, yet still doing three or four sketches a day. There were a few false starts I didn’t keep (the backs of those sheets get used for figure drawing class). One thing for sure, working direct-to-watercolor is faster that drawing-then-painting. It takes almost exactly half the time to do one of these. Go figure! Almost if it’s true, that a line drawing is just as much work as a painting.
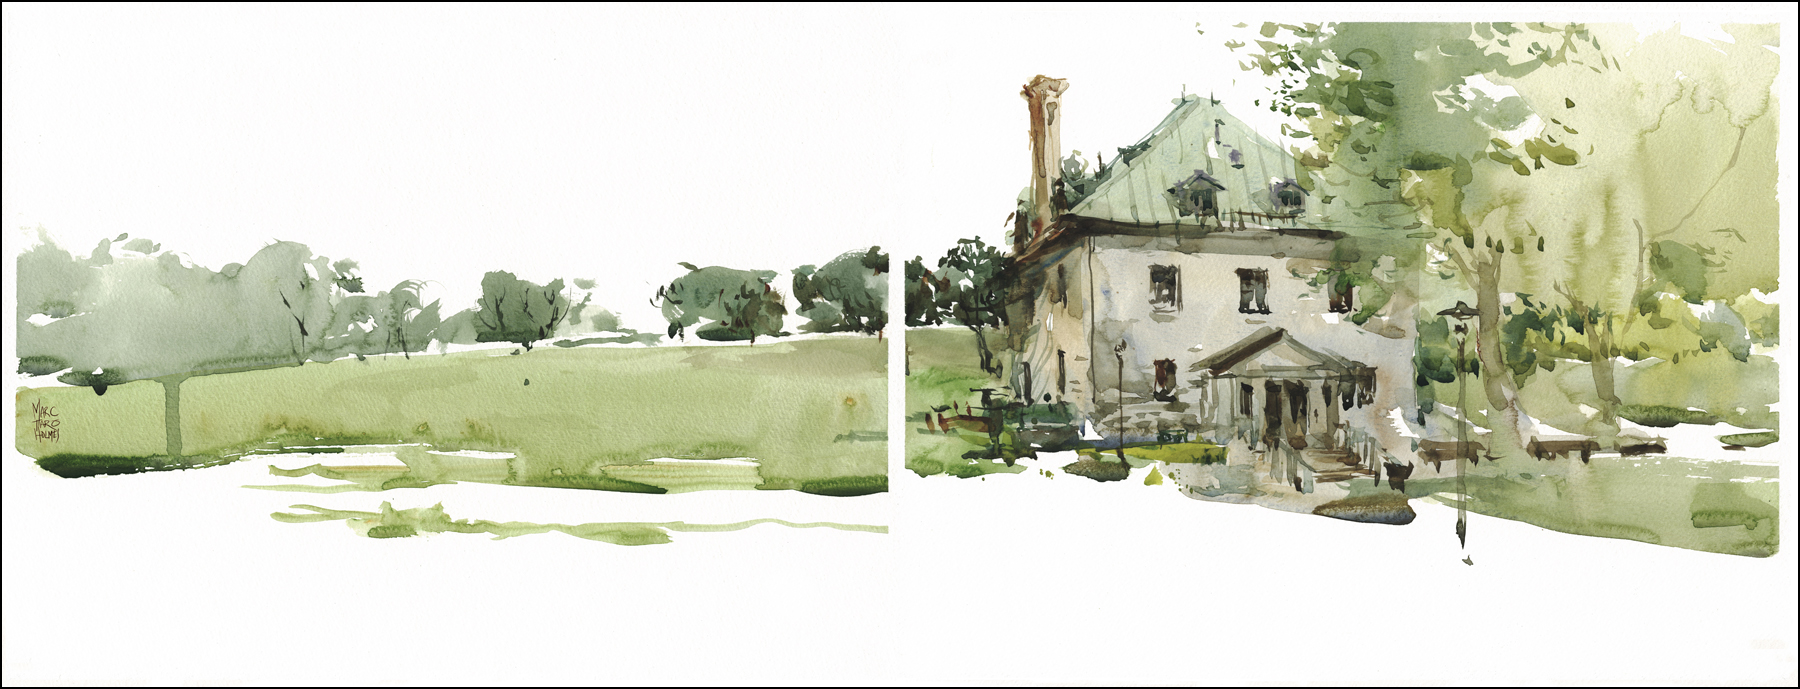
[Maison Smith, Parc du Mont-Royal]

[Maison Smith Montreal, Back Yard]
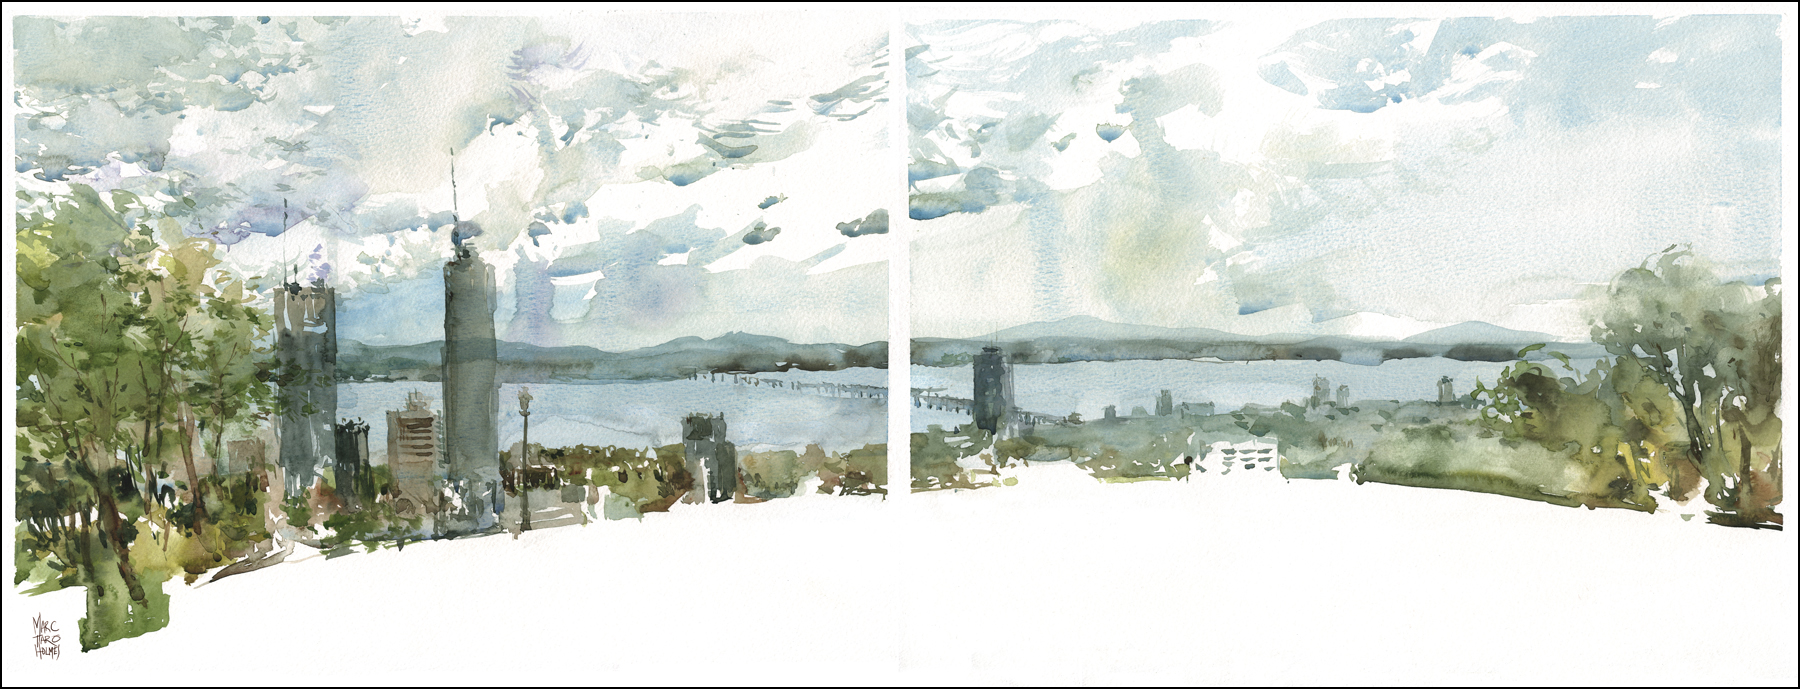
[Panorama from the Chalet du Montreal]

So, I feel I’ve gone from a fairly tentative sketchbook exercise in brush drawing, to some paintings that I’m pretty proud of. So, how is this jump possible? Lets see….
Switching to natural sable brushes:
I don’t like to talk a lot about tools. (Though you’d never know it reading this blog). I feel that asking ‘what brush did you use’ is a distraction from more significant questions. BUT – that being said – a nice fat sable with a belly full of paint and a needle fine point makes a real difference.
I am mostly using a #14 Escoda, #10 DaVinci, and #7 Winsor and Newton Artist Watercolor Sable (in the long hair version – similar to a rigger).
Doing Tea, Milk and Honey in smaller areas:
I’m still using the three step process I call ‘Tea, Milk, Honey’, but instead of systematically working the entire surface, I’m working sub-sections of the painting each on its own clock. Working in logical chunks like the silhouette of a tree or the ‘box’ of a building. I’m doing this so that I can get down to the darks sooner. While a patch is still wet.
More pigment!
I’m mixing the paint richer, wetter and with more pigment than I used to. My previous paintings, built out of layered series of stains, actually use very little paint in comparison to these more aggressive mixes. I’m using a mix of Winsor and Newton, Holbein, and Daniel Smith tubes. There’s a list of colors in this post.
Investing in ‘direct’ drawing skills:
I’ve been talking a lot about this thing I call ‘The Dot Plot Method’ recently. That approach evolved naturally out of drawing directly in pen and ink. I started working exclusively in washable ink a few months back, in order to wean myself off the pencil. The ability to erase an under drawing, to make multiple stages of corrections, was allowing me to make very detailed, delicate, (dare I say, finicky) paintings. Drawing, and then tinting over top, was a crucial phase in my development, but I have known for a while I wanted to be more spontaneous than that.
By working my way through a few sketchbooks of water-soluble direct-to-ink drawings, first by melting my drawings, then later by washing color right into the water-soluble line, I’ve been training my ability to visualize space, and my brush handling, to the point where I can draw directly in color without the preparation of a pencil drawing.
Working medium size:
These odd compositions – 11×30″ diptychs – are a thing I settled on so I can work a bit larger than sketchbook size, but not so big that packing the gear becomes a problem. I went through a phase where I was working way bigger. Up to 24×36”. But that’s simply unwieldy for urban sketching. A gust of wind and suddenly you’re Mary Poppins. Plus everything scales up. The weight of a bigger tripod, the unwieldy panel under your arm, the size of the brushes required, and the time it takes to cover all that paper. It wasn’t something I could expect to take with me on a trip – such as the upcoming Urban Sketchers conference in Brazil.
Next post – a step-by-step process example!
Note: If you’re linking in from somewhere, this is part 1 of 1 / 2 / 3 / 4
~m


Stunning! Especially loving the first one! So silky smooth and at the same time textured brushwork..
Having seen you do a few of these on site, I can confirm all of the above. They do take half the time, you work with lots of paint, directly with the brush, etc. But one thing you miss out on by seeing these online is how wonderful they really are full size and in person. I guess you’ll just have to have an exhibit of these!
Very inspiring. I’m going on vacation this week, was intending to just do some crafty stuff but because of these I’m going to pack watercolors. So thank you!
Hi Marc! These are absolutely fantastic! I love going direct with brush, although I’ve not been too happy when trying it on location. I guess I’ll try to go smaller and eventually, when more confident, go to half sheets. I hope you are happy with what you are accomplishing; beautiful work.
Thank you, Marc, for sharing your journey with us in this way; that is very generous of you. (Of course, you could paint with your left foot and still make a masterpiece–you are that good!)
Wow! Just came across your site and love your work! Apart from the huge event in Brazil in August, will you be offering any other classes/workshops in Montreal this month, or in the Fall?
I also love your little paint box that you clipped to your sketchbook! What make is it?
I’ve already preordered your book! -val
Hey Val – thanks for the order! That small set of pans you noticed is a Winsor and Newton set of 10 half pans, into which I’ve added four extra (making 14). Colors pretty much match the ‘standard’ split complementary tube colors listed here: https://citizensketcher.wordpress.com/class-notes/
Re: workshops in Montreal – I’m sorry! Not this summer (too much travel, and finishing the book. But I’m planning out what to start offering next season).
Love your work. thanks for sharing.
Fun to follow along here…. I’ve abandoned sketching altogether when doing plein air oils. Block-in and underpaintings only. Additionally, I’ve tried changing up my sketching style to try to be more painterly, though I’m not very good at it…. it’s hard to change gears after several years of working purely in line.
Beautiful works! I left comment asking the technical details on your later lesson Part 4 of 4. You have had the answers already on this session. I’d appreciate if you ignore my comment.